
 Image credit: Polkadotsheep.com
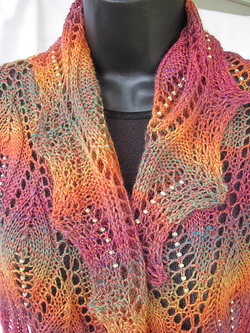
 Knitting with beads adds a simple elegance to any knitted piece. I often hear people say they are intimidated by beaded knitting and how hard it must be. The truth is it is quite simple as long as you know the basic techniques and the different effects they create.
There are two basic techniques in beaded knitting: Crochet Method & Pre-stringing Method. Both are quite easy but give very different effects to your finished product and are not interchangeable. So choosing the proper technique before beginning any project is key to reaching your desired outcome.
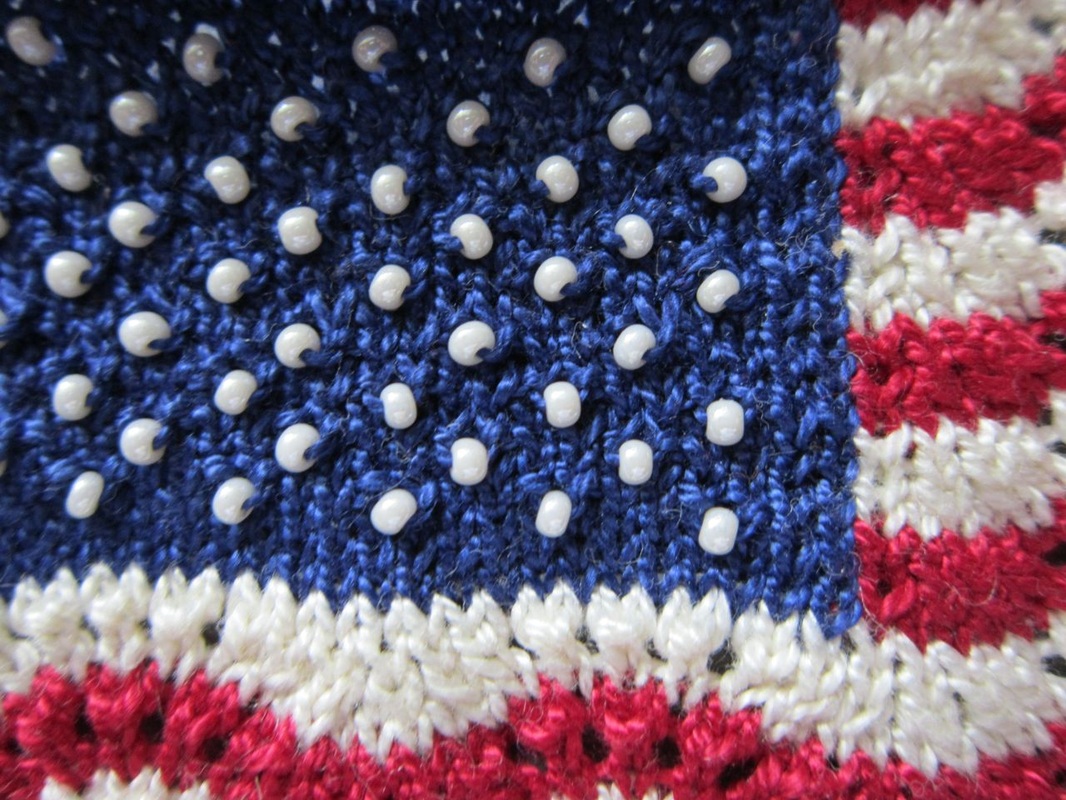
When using the Crochet Method, your beads will be locked into place allowing precise bead placement. Your beads will lie flat with your fabric and will be visible from both sides. They tend to lie vertically (holes going top to bottom). You do not have to pre-string your beads saving wear on delicate yarns. Here is a great tutorial on this method.
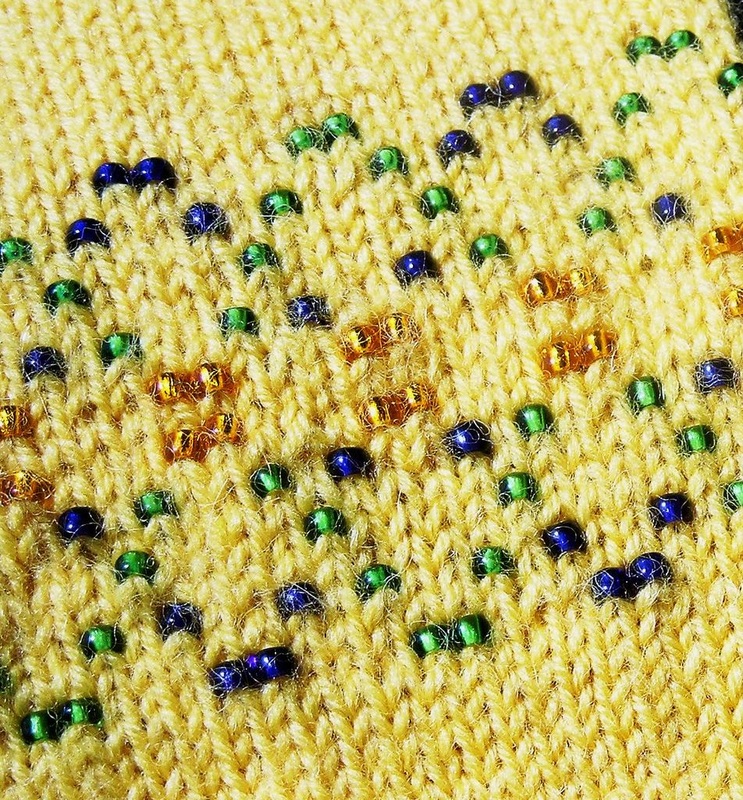
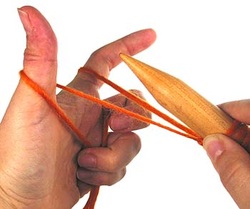
If you choose the Pre-stringing Method, your beads will float between two stitches allowing movement with the beads. For this method, you will need to take a little time to apply beads to your yarn before you begin. There are different ways to use this method, one being slip stitch leaving the beads only visible from the front of your work and on top of the fabric or Beaded Knitting in which the beads lie on the thread between two stitches. This allows the bead to show on both sides of your work and lays flat with your piece. Both methods are shown in this tutorial.
There are two basic techniques in beaded knitting: Crochet Method & Pre-stringing Method. Both are quite easy but give very different effects to your finished product and are not interchangeable. So choosing the proper technique before beginning any project is key to reaching your desired outcome.
When using the Crochet Method, your beads will be locked into place allowing precise bead placement. Your beads will lie flat with your fabric and will be visible from both sides. They tend to lie vertically (holes going top to bottom). You do not have to pre-string your beads saving wear on delicate yarns. Here is a great tutorial on this method.
If you choose the Pre-stringing Method, your beads will float between two stitches allowing movement with the beads. For this method, you will need to take a little time to apply beads to your yarn before you begin. There are different ways to use this method, one being slip stitch leaving the beads only visible from the front of your work and on top of the fabric or Beaded Knitting in which the beads lie on the thread between two stitches. This allows the bead to show on both sides of your work and lays flat with your piece. Both methods are shown in this tutorial.
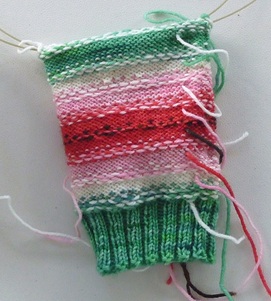
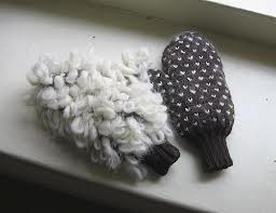
The images below are great examples of the different techniques. Click on the images to view in full size.
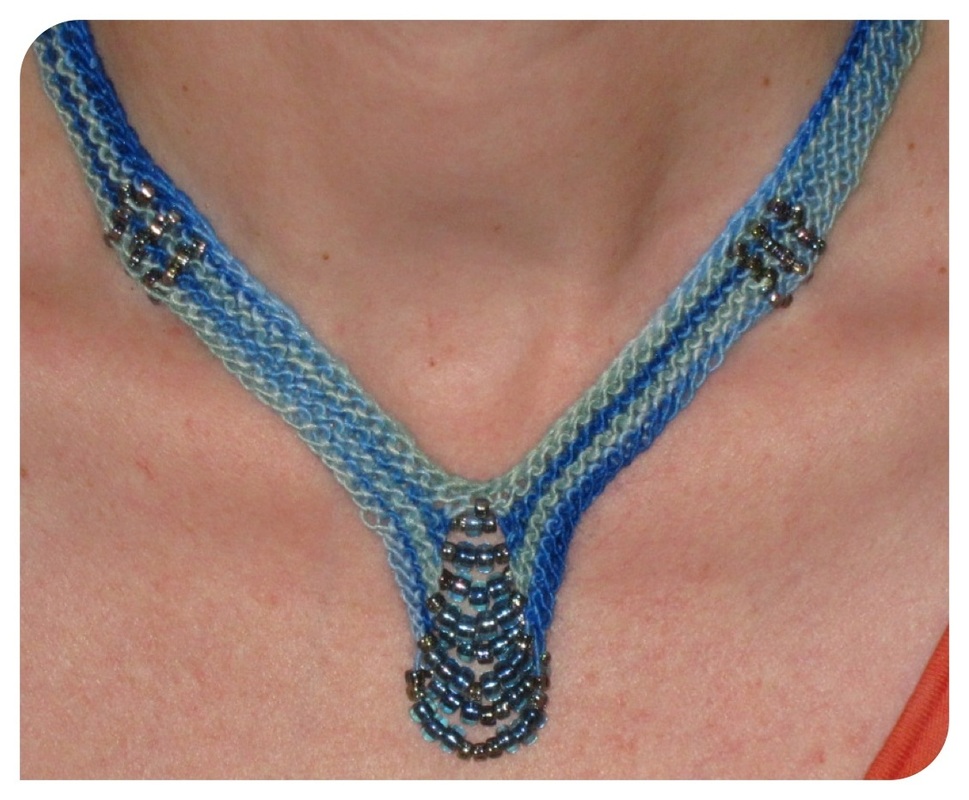
Most patterns will tell you which method they prefer you to use, but now you have the knowledge to choose for yourself or even make your own designs. When working with beads, you will want to keep care instructions in mind as some beads may chip or even lose their color when washed.
 RSS Feed


